Adding products
Adding products

After going through your First Steps in the tool, you can start adding products to your account.
Create New Product
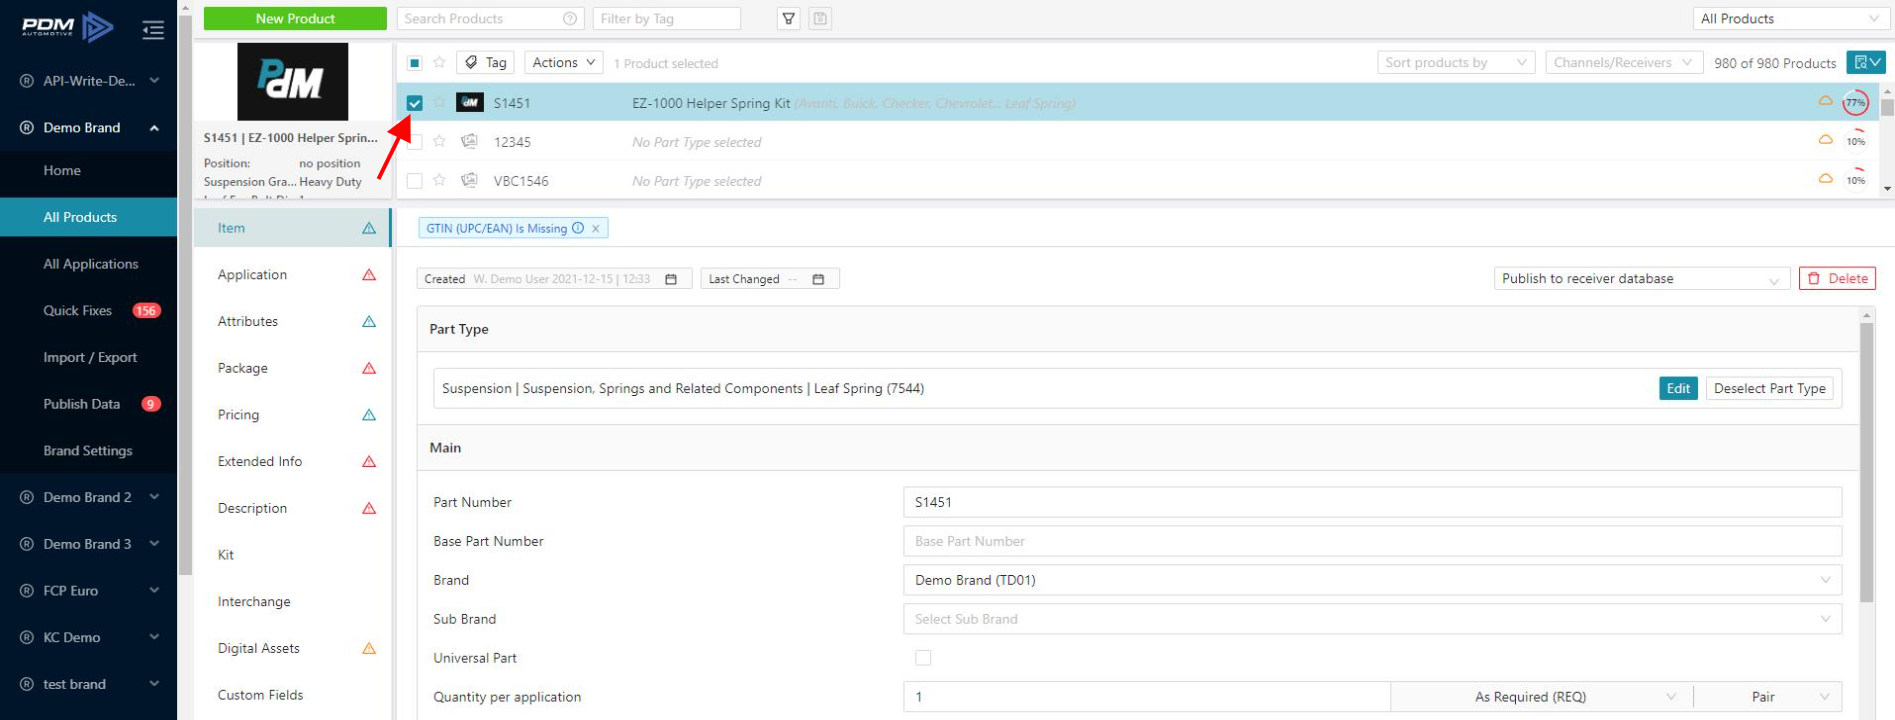
- Click on a Brand and select All Products.
- Click in New Product.
3. Write a unique PartNumber
4. Select a SubBrand ( this is optional).
5. Click in Create Product.
You can see your new-added product in the Catalog.
Clone Existing Product
You can create a new product by Cloning the information within a product and assigning a unique PartNumber to it:
- Select a product from the Catalog, click in the Actions column, and select Clone.
2. Here, you can see the Original Product's preview information.
3. Write a unique PartNumber and select a SubBrand For the new Cloned product. ( SubBrand selection is optional ).
4. Select the segments you want to include in the new product.
5. When your selection is made, click Create Product.
You can see the new-cloned product in the Catalog.
Add Products in Bulk
Once you have started with PDM, you can add products in bulk at any moment by importing via Excel, ACES&PIES, and also bulk importing Digital Assets.
1. Click on a Brand and select Import/Export.
2. Select Import.
3. Click All Segments to upload everything or click All Segments twice to unselect all segments and select only on individual segments to upload. Choose a file or locate the file you'd like to add and drag-an-drop into the box.
4. Choose an ACES&PIES file or locate the file you'd like to add and drag-and-drop into the box.
5. If you'd like to bulk upload Digital Assets, choose a file or locate the file you'd like to add and drag-an-drop into the box.

After you add products to your account, PDM will give you feedback about the quality of your existing data in three categories: Recommendations, Warnings, and Errors.
Related articles:
Related Articles
Adding 360 Digital Assets
Adding 360 Digital Assets PDM tool has two options to add and delete 360 digital Assets: Adding 360 Digital Assets using the PDM UI for one product Adding 360 Digital Assets by Import for many products Using the PDM UI for one Product Click on ...Custom Vehicle Table: Adding a New Custom Vehicle Table
Adding a New Custom Vehicle Table Adding a new custom vehicle table through Application segment: Select a Brand and click All Products Select the Application segment and select a product from the catalog Click on the Add New Application button 4. A ...Adding and Deleting Digital Assets in the Application Segment
Adding and Deleting Digital Assets in the Application Segment PDM tool has two options to add and delete the digital Assets in the application segment, Adding/Deleting Digital Assets using Edit Application. Adding/Deleting Digital Assets using ...Custom Vehicle Table: Adding, Changing, and Deleting Vehicle ID
Adding New Vehicle ID Select a Brand and click All Products. Click the Applications segment and select a product from the catalog. Click on the Add New Application button. 4. A new window appears. Click the Edit VCdb button. 5. Select a Custom ...Custom Vehicle Table: Adding New Sub Configurations and Assigning to Vehicles
Adding New Sub Configurations and Assigning to Vehicles Select a Brand and click All Products. Click in the Application segment and select a product from the catalog. Click on the Add New Application button. 4. A new window pops up. Click on the Edit ...